
How to Tell If a Photo Is Photoshopped A Guide to Spotting Fakes
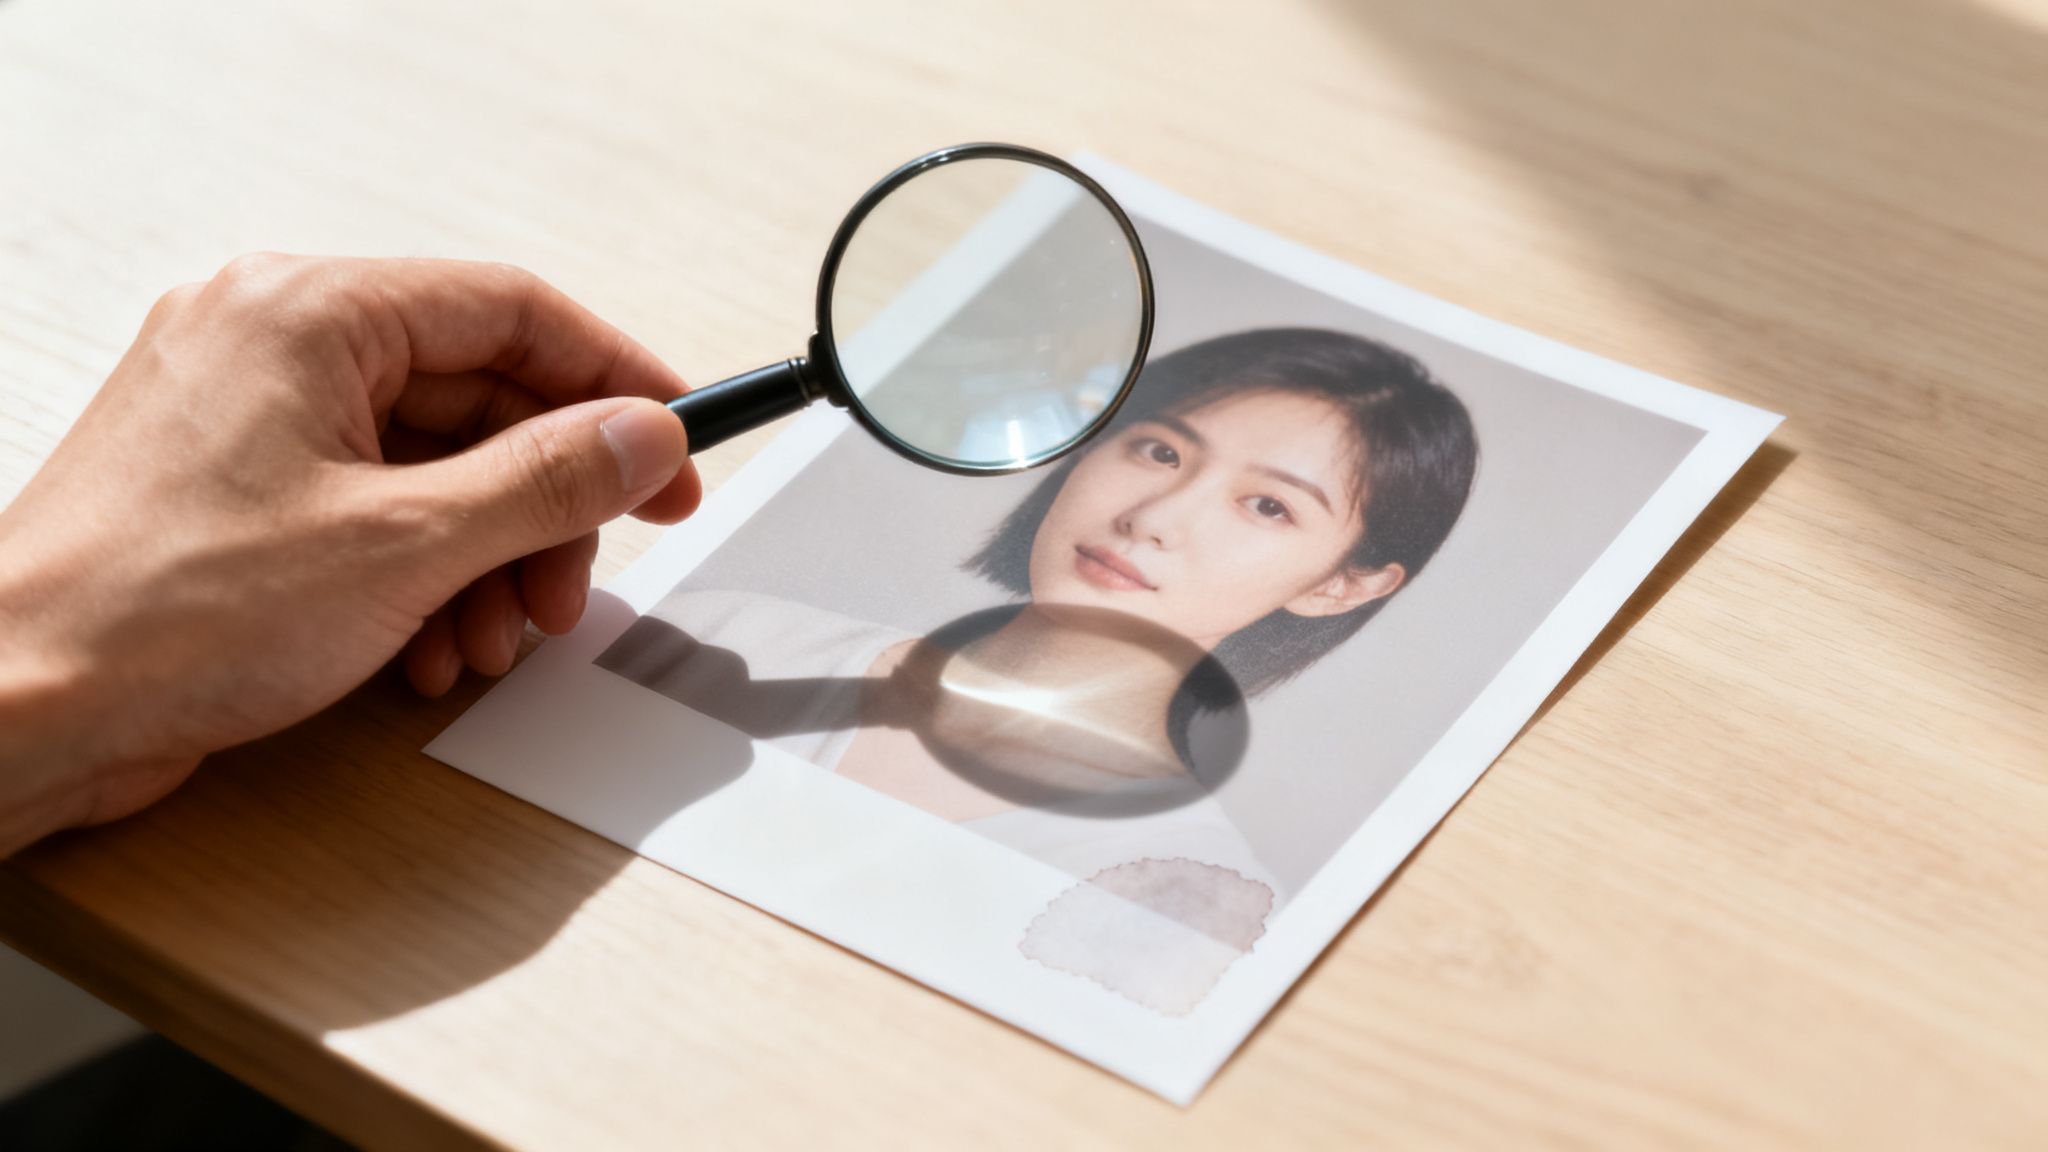
Before you even think about firing up any fancy software, the first step in spotting a doctored photo is to simply look at it. Your own eyes and intuition are surprisingly powerful tools. You’re essentially looking for things that just feel… off.
This initial once-over can reveal a huge number of amateur or rushed edits. It’s all about training your eye to see the subtle inconsistencies that digital editing often leaves behind.
Your First Look: Spotting the Obvious Fakes
Think of yourself as a detective at a crime scene. When an object is added, a person is removed, or a background is swapped, it disrupts the natural physics of the image. Your job is to find where the laws of light, shadow, and perspective have been broken.
Investigate the Shadows and Lighting
In any real photo, all the light and shadows come from the same sources. This is one of the hardest things to fake convincingly, and where many manipulations fall apart.
Ask yourself: where is the light coming from? If you see a person supposedly standing on a sunny beach, but the light on their face looks soft and diffused like it's from an indoor lamp, that’s a major red flag.
Shadows are just as revealing. Do they all point in a consistent direction, away from the main light source? A classic giveaway is seeing someone in broad daylight casting a very weak shadow, a blurry one, or—the most obvious sign of all—no shadow whatsoever.
Look for Strange Warping and Distorted Lines
To change a person's shape or move an object, editors often have to push and pull pixels around. This process can easily warp the background, especially if it contains straight lines.
Zoom in and pay close attention to things like door frames, tile patterns, brick walls, or the horizon line behind the subject. Do any of those straight lines suddenly become wavy or bent near the person or object? A slightly curved wall that should be perfectly straight is a dead giveaway that the area has been digitally altered.
Pro Tip: When you suspect an area has been warped, zoom way in on the edges of the subject. It’s incredibly difficult to make a clean edit, and you can often spot slight blurring or pixelation where the background was stretched or compressed.
Analyze Edges, Reflections, and Patterns
When an element is cut out and pasted into a new photo, the edges are where you'll find the evidence. Carefully inspect the outlines of people and objects, especially around complex areas like hair or fur.
- Blurry or "Gummy" Edges: Look for an unnatural, soft glow or blur around a subject that doesn't match the photo's overall sharpness.
- Jagged Outlines: On the other hand, an overly sharp or pixelated edge can make a subject look like a cardboard cutout that's been pasted onto the scene.
- Inconsistent Focus: Does it look like the person is in perfect focus, but the very edge of their hair or clothing is weirdly out of focus? This often happens when a sharp subject is placed on a blurry background.
Reflections are another goldmine for spotting fakes. Check any reflective surfaces—mirrors, windows, sunglasses, even the pupils of a person's eyes. If someone claims to be at the Eiffel Tower, but the reflection in their shades shows a suburban backyard, you’ve caught them.
Finally, watch for repeating patterns. To remove an unwanted object, editors often use a "clone" tool to copy pixels from one area and paste them over another. This can create identical-looking clouds, bricks, or patches of grass that are a tell-tale sign of digital cover-up.
To help you remember these key giveaways, here’s a quick checklist you can run through during your initial visual assessment.
Quick Visual Inspection Checklist
| Visual Cue | What to Look For | What It Might Indicate |
|---|---|---|
| Shadows & Light | Inconsistent shadow directions, mismatched light sources, missing shadows. | A subject was added from another photo with different lighting. |
| Warping & Bends | Straight lines in the background (walls, horizons) that appear curved or wavy. | The subject's shape or position has been altered using a liquify/warp tool. |
| Subject Edges | Unnaturally blurry, overly sharp, or "glowing" outlines around a person or object. | A sloppy cutout job; the subject was pasted onto a new background. |
| Reflections | Reflections in mirrors, windows, or sunglasses that don't match the surrounding scene. | The image is a composite of two or more different locations. |
| Cloning Artifacts | Identical, repeating patterns in textures like clouds, grass, or crowds. | An object was removed from the photo using the clone stamp tool. |
| Color & Quality | A single element appearing much higher/lower resolution or having a different color cast. | An element was inserted from a different, lower-quality image. |
Running through these points takes only a minute or two, but it can quickly confirm your suspicions or put them to rest without ever needing to open a special tool.
Look Beyond the Pixels: Digging into Photo Metadata
Sometimes, the most obvious signs of a fake aren't in the image itself, but in the data hidden within it. Think of every digital photo as a package with a detailed shipping label. This label is its metadata—specifically, the EXIF data (Exchangeable Image File Format)—and it's a goldmine of information about where the image came from.
Learning to read this digital paper trail is a crucial skill. It can tell you what camera took the picture, the exact date and time, and, most importantly for our work, whether it’s been run through editing software.
How to Uncover a Photo’s Metadata
You don't need any fancy software to start this detective work. Your computer's built-in tools are a great starting point, and for a deeper dive, free online tools can pull back the curtain even further.
- On Windows: Just right-click the image file, hit "Properties," and click on the "Details" tab.
- On macOS: Open the image in the Preview app. Go up to the "Tools" menu and select "Show Inspector." All the good stuff is usually under the "EXIF" tab.
- Online Viewers: For a really comprehensive report, I often use sites like Jeffrey's Image Metadata Viewer or Metapicz. You just upload the image, and they lay out all the embedded data for you.
Once you have the data in front of you, it can look like a wall of technical jargon. Don't get overwhelmed. You only need to focus on a few key fields to find the clues that matter.
The EXIF Tags That Tell the Real Story
Not all metadata is equally useful. When you're hunting for signs of manipulation, you can ignore most of it and zero in on the tags that act as digital fingerprints.
A common trap is thinking metadata is foolproof. It isn't. A skilled manipulator can wipe or even fake EXIF data. But here’s the thing: the complete absence of data is often just as suspicious as data that points to editing. An original photo should have a story to tell.
Here are the specific fields I always check first:
The Software Tag: This is your smoking gun. If an image was saved in an editing program, this field will often name the culprit outright, like "Adobe Photoshop 2024" or "GIMP 2.10." Finding a software tag is the clearest sign you're not looking at a straight-out-of-the-camera original.
Date and Time Stamps: Look for a few different timestamps. The
DateTimeOriginalis when the shutter clicked, andDateTimeDigitizedis when the file was created. If these are identical, great. But if you see a huge gap—say, the photo was taken in 2022 but modified last week—it suggests someone went back and tinkered with it.Copyright and Artist Fields: These are often empty, but if they're filled in, they can give you a name or organization to investigate. A quick cross-reference with a reverse image search can confirm if the person claiming credit is the real creator.
Camera and Lens Info: Metadata usually records the exact camera model (
Canon EOS R5,Apple iPhone 15 Pro), lens, and even the settings used. This is great for a gut check. If someone claims a photo is a professional shot from a major event, but the EXIF data says it came from an old smartphone, it’s a red flag that warrants a closer look.
Remember, metadata gives you clues, not a conviction. Someone might open a photo in Photoshop just to crop it, which isn't necessarily a deceptive edit. The real power comes from combining what the metadata tells you with the visual red flags we talked about earlier. Each piece of evidence helps you build a more complete picture of an image's true history.
Digging Deeper with Digital Forensic Tools
When your eyes and the metadata tell you something might be off, but you can't quite put your finger on it, it's time to bring in the heavy hitters. This is where we move into digital forensic analysis, using specialized tools to uncover the hidden fingerprints of manipulation right down at the pixel level.
It sounds incredibly technical, but you don't need a computer science degree. Many of these techniques are now baked into user-friendly websites that do the complex math for you. These tools are designed to spot inconsistencies that are mathematically impossible for a camera to produce but are common side effects of editing software.
Think of it as looking for digital scars left behind by the editing process.
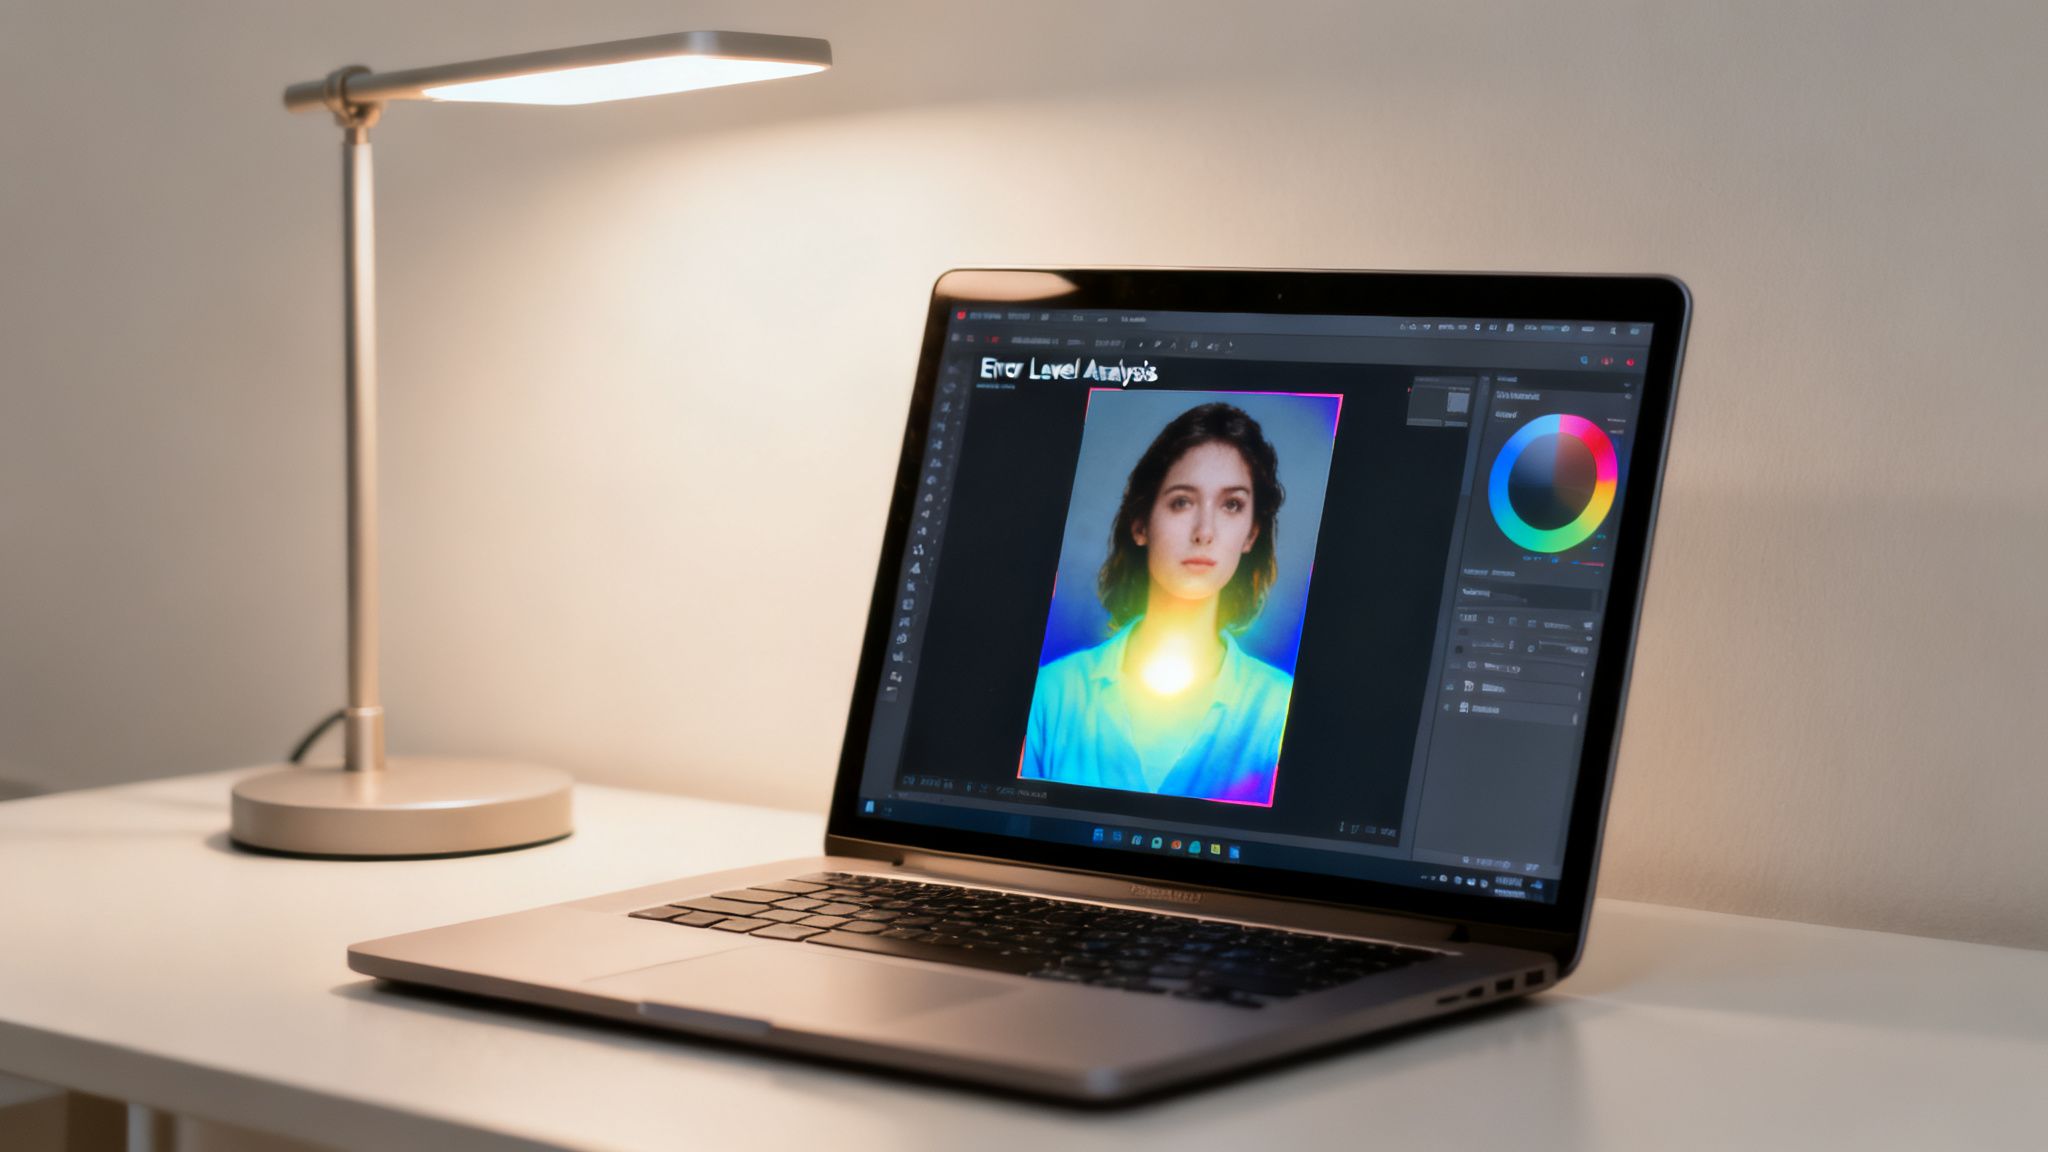
Unmasking Edits with Error Level Analysis (ELA)
One of the most revealing techniques I turn to first is Error Level Analysis, or ELA. Here’s the simple idea behind it: every time a JPEG photo is saved, it loses a tiny bit of quality through compression. An authentic, single-save photo should have a fairly uniform level of this compression across the whole image.
But what happens when you copy a piece from another photo and paste it in? That pasted element has a completely different compression history. It’s been saved a different number of times under different conditions.
ELA is brilliant at highlighting these discrepancies. The analysis re-saves the image at a specific quality (like 95%) and then shows you the difference between your version and its re-saved version. In an unaltered photo, the ELA result should look mostly dark and consistent. Altered areas, with their different compression history, will scream out at you, appearing much brighter or more textured.
The Bottom Line on ELA: Uniformity is your friend. If one person, object, or area glows like a Christmas light while the rest of the image is dark, that’s a massive red flag that it was added or manipulated.
Spotting "Digital Noise" Mismatches
Every digital camera sensor adds a fine layer of random visual static called digital noise. This noise pattern is like a fingerprint, unique to that specific camera and the lighting when the photo was taken. Critically, it should be consistent across the entire photograph.
When an editor pastes an element into a new image, they're not just pasting pixels—they're pasting a foreign noise pattern.
Noise analysis tools work by isolating and amplifying these patterns. If you run an analysis and see a block or an object with a noise texture that just doesn't fit in—maybe it's way smoother or much grainier than everything around it—you’ve likely found a pasted-in element. It’s like finding a patch of shag carpet sewn into a Berber rug.
While this gets a bit more advanced, some tools offer simplified views to help you spot these jarring differences. The principles are so fundamental that they even form the basis for much of the forensic video analysis software used by professionals.
How to Actually Use These Online Tools
Getting your hands dirty with these forensic tools is easier than you’d think. Most of them follow a very similar, straightforward process.
Pick Your Tool: Great, free, web-based options include Forensically and FotoForensics. Since they're browser-based, there's no software to install.
Upload Your Image: Just drag and drop or select the image file you're investigating.
Choose Your Weapon: Start with ELA. It’s usually the most intuitive and gives a clear visual to work with. From there, you can explore other methods the site offers, like Noise Analysis or Clone Detection (which specifically looks for duplicated pixel areas).
Interpret the Clues: This is where your detective work comes in. You’re looking for outliers. For ELA, hunt for those bright, high-contrast spots. For noise analysis, look for patches that don't blend. For clone detection, the tool will literally draw boxes around identical regions it finds.
Remember, no single tool gives you a magic "FAKE" or "REAL" stamp. It just provides evidence. A bright spot on an ELA scan, combined with the weird shadows you noticed earlier and a "Photoshop" tag in the metadata, builds a compelling case. It’s about weaving together the digital evidence with your own visual inspection to see the full story.
Tracing a Photo's Origin with Reverse Image Search

Sometimes, the most powerful evidence of photo manipulation isn't buried in the pixels. It's in the photo's history—where it’s been, how it’s been used, and when it first surfaced online. This is where a reverse image search becomes one of the most critical tools in your verification toolkit.
Instead of typing words, you use the image itself as the search query. You upload the photo, and the search engine scours the web for visually similar images, essentially creating a digital timeline of its journey. This process is incredibly effective for uncovering a photo's original context, which is often the key to debunking misinformation.
Think about a dramatic photo of a protest that’s suddenly everywhere, labeled as "breaking news." A quick reverse image search might reveal that the photo is actually five years old and from an entirely different event in another country. The image is real, but its context is a complete fabrication—a very common and potent form of manipulation.
Your Go-To Reverse Image Search Tools
Not all search engines are built the same. For the best results, you'll want to use a combination of them, as each has its own algorithmic strengths and database quirks.
Google Images: This is the heavyweight champion. Its massive index makes it the best place to start. Google Images is particularly skilled at finding visually similar images, even if they've been slightly cropped, filtered, or color-corrected.
TinEye: A true specialist. TinEye is designed to find exact matches and track an image's digital footprint over time. Its "sort by oldest" feature is invaluable for pinpointing the very first time an image was indexed online.
Yandex: The dark horse of reverse image search. This Russian search engine can be surprisingly powerful, especially for images originating in Eastern Europe. I've found that Yandex sometimes pulls up matches that both Google and TinEye completely miss.
Getting started couldn't be easier. Just look for the camera icon in the search bar on any of these sites, click it, and upload the image file you're investigating.
Analyzing the Search Results Like a Pro
Once the results load, your real work begins. Don't just skim the top hits; you need to dig in and piece together the photo's real story.
First, hunt for the oldest date. TinEye makes this a one-click process, but with Google, you’ll need to use the "Tools" filter to set a custom date range. I usually start by searching year by year, working my way back to find the earliest indexed version. This first appearance often leads you to the original source, whether it's a news article, a photographer's portfolio, or a stock photo library.
Next, start comparing the different versions that pop up. Are there subtle changes? Maybe the image you're checking is a low-quality screenshot of an older, much sharper original. Has it been cropped differently on other websites? These are all tell-tale signs that the image has been recycled and possibly altered.
A pro-level tip is to crop the photo and search for individual elements. If you suspect a person or object was added to a scene, crop tightly around just that element and run a new reverse image search on it. You might just find the original photo it was lifted from, giving you definitive proof of manipulation.
This entire process helps you answer a crucial question: is this photo being used out of context? It shifts the focus from just the technical "how to tell if a photo is photoshopped" to the equally important contextual side. Finding the image on a fact-checking site or in a legitimate news article from years prior gives you the solid evidence needed to confirm or deny its authenticity.
The New Frontier: Detecting AI-Generated Fakes
We've spent years training our eyes to spot a clumsy Photoshop job. We look for warped backgrounds, mismatched lighting, and blurry edges—the tell-tale signs of human error. But the game has changed entirely.
Now, we're dealing with images that were never real to begin with. These aren't just manipulated photos; they are synthetic media, conjured from scratch by Artificial Intelligence. This requires a completely different mindset. Instead of hunting for mistakes in an edit, you're looking for the subtle, eerie fingerprints left behind by an algorithm.
Spotting the Uncanny Valley of AI
AI image generators are astonishingly good, but they still have peculiar blind spots. They often stumble on the complex, messy details of reality—the very things our brains process without a second thought. This is where you can catch them.
Think of it as looking for glitches in the matrix. These aren't your classic photo-editing blunders; they are giveaways unique to AI.
- Hands and Fingers: AI is notoriously bad at anatomy, especially hands. Keep an eye out for extra fingers, missing ones, or digits that are just… wrong.
- Text and Symbols: Look closely at any text in the background. AI often produces garbled, nonsensical characters that only look like letters from a distance.
- Unnatural Symmetry and Patterns: Sometimes, AI overcorrects for perfection. You might see a face that's unnervingly symmetrical or a background pattern that repeats too flawlessly to be real.
- Glossy, Plastic-Like Surfaces: Skin can appear overly smooth and poreless, almost like a doll's. It lacks the subtle, imperfect texture of real human skin.
These artifacts are the new red flags. The question is no longer, "Was this photo edited?" It's now, "Was this photo ever real?"
The Escalating Threat of Synthetic Media
Learning to spot these fakes is more than just a party trick for social media. This technology is advancing at a blistering pace, and the stakes are incredibly high. For a deeper dive into this issue, you can learn more about the challenges of identifying social media deepfakes in this detailed guide.
Imagine an AI-generated image of a geopolitical event going viral—it could easily mislead the public or influence policy. In a courtroom, synthetic photo "evidence" could lead to a wrongful conviction. For businesses, it's a powerful new tool for fraud.
The scale of this problem is staggering. Fraud attempts using deepfakes saw a 3,000% increase in 2023 alone. This explosive growth means the threats are evolving 20 to 40 times faster than our defenses. You can see the full breakdown of the growth of deepfake threats at DeepStrike.io.
This isn't a problem you can solve with a simple visual check anymore, at least not for professional verification. Advanced AI detection tools, which scan for the underlying mathematical signatures of generation models, are becoming essential. They add a critical layer of defense when the truth really matters.
Crafting Your Own Verification Process
When you come across a questionable photo, it’s easy to get lost in the weeds. The trick is to have a reliable process, a workflow you can turn to every time. I always recommend starting with the simplest, fastest checks and only escalating to the more technical stuff if the image still feels off. This saves a ton of time and often gets you the answer you need in seconds.
Your first and best tool is your own intuition. Just look at the photo. Do the shadows fall correctly? Are there strange blurs or warped lines in the background, especially around a person or object? These gut-check inspections can often expose a clumsy fake right away.
AI-generated images have their own set of "tells." They're getting better, but they often stumble on the little things our brains have spent a lifetime learning.
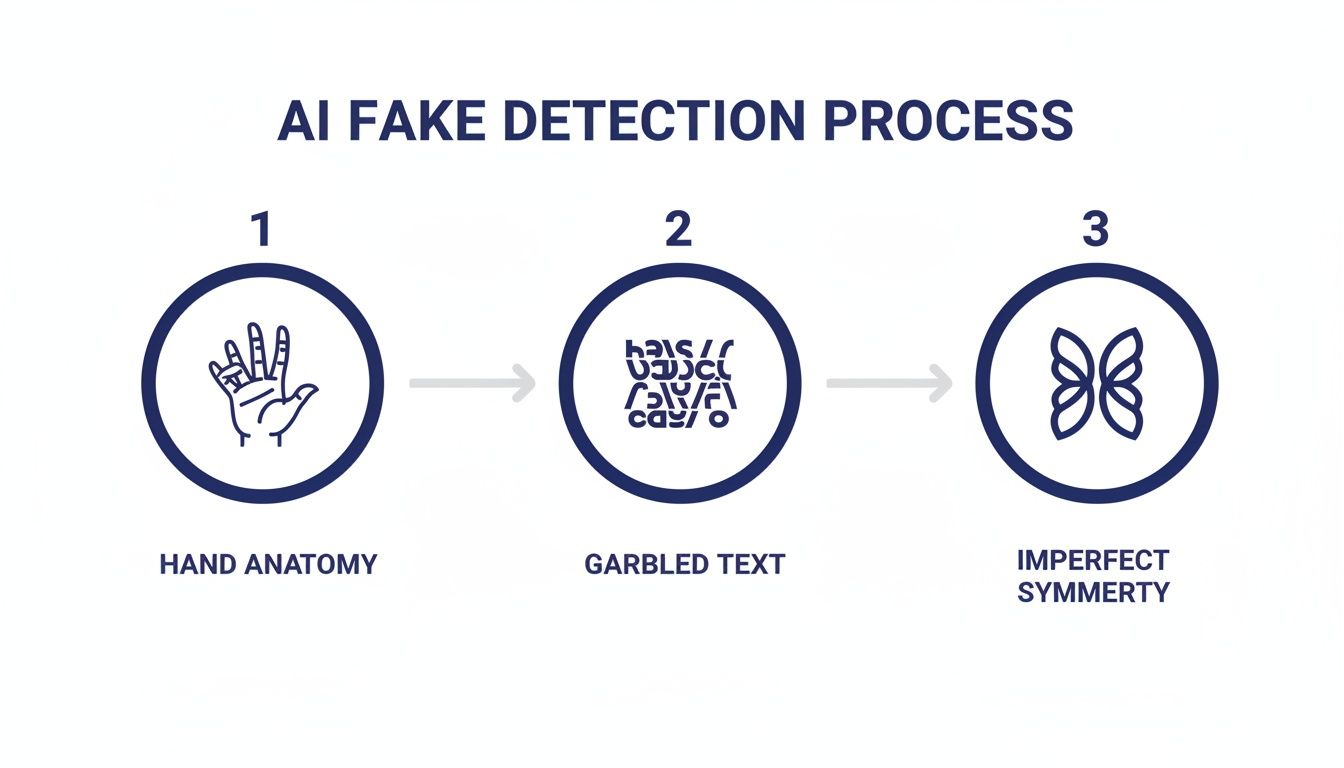
This visual guide is a great reminder that while an AI can generate a stunning landscape, it might put six fingers on a hand or create text that's just nonsense. These are the details to zero in on.
A Practical Checklist for Deeper Dives
If a photo passes the initial eye test but something still feels wrong, it's time to dig a bit deeper. Here’s the order I typically follow:
- Run a Reverse Image Search: This is non-negotiable and often the most revealing step. Using a tool like Google Images or TinEye can instantly show you where else the photo has appeared online. You might find it’s an old picture being used in a new, misleading context.
- Inspect the Metadata: Look at the EXIF data. Is there a "Software" tag that explicitly names an editor like Adobe Photoshop? Sometimes, the absence of data is the real clue, suggesting it was intentionally stripped.
- Bring in the Forensic Tools: If you’re still not sure, it’s time for the heavy hitters. This is when you’d run an Error Level Analysis (ELA) or look at the noise patterns to find pixel-level inconsistencies that are invisible to the naked eye.
This kind of methodical approach is becoming more important every day. The deepfake detection market, for instance, is projected to explode from USD 114.3 million in 2024 to an incredible USD 5.6 billion by 2034. That tells you everything you need to know about where this technology is headed. You can find a detailed breakdown of this rapid market growth and what it means over at Market.us.
In the end, there’s no single magic bullet for spotting a fake. The real power comes from combining these techniques into a workflow that works for you. It’s about building a toolkit and, more importantly, a critical mindset. To keep honing that skillset, you might find our resources on improving media literacy in the digital age helpful.
Questions I Often Hear About Spotting Fakes
As you get better at spotting doctored images, you'll start running into the same questions and tricky situations over and over. Here are some of the most common ones I hear from people just starting out, along with some practical advice.
Can I Really Tell If a Photo Is Fake Just Using My Phone?
Yes and no. Your phone is actually a fantastic starting point. You can do all the essential visual checks—pinching and zooming to get a close look at suspicious shadows, blurry edges, or lighting that just feels off. Mobile browsers also work perfectly well for running a quick reverse image search on Google Images or TinEye.
But when it's time to dig deeper, you'll need to move to a computer. Advanced forensic tools that perform Error Level Analysis (ELA) or deep metadata dives are built for desktop use. Trying to interpret complex ELA results on a small phone screen is a recipe for a headache and missed clues.
What's the One "Magic Bullet" Detection Method?
I wish there was one, but there isn't. The truth is, the most reliable way to spot a fake is to layer several techniques together. My go-to workflow is a careful visual inspection, followed by a reverse image search, and then a look at the metadata. This multi-step process will catch the vast majority of fakes out there.
Think of it like a detective building a case. A single clue is just a hint. But when you have three or four different pieces of evidence all pointing in the same direction, you can be much more confident in your conclusion. Relying solely on one tool, especially something like ELA, can easily mislead you.
How Is an AI-Generated Image Different from a Photoshopped One?
This is a critical distinction to understand. Photoshopping is about editing a real photo, while AI is about creating a synthetic one from nothing. Both are manipulations, but the tell-tale signs are completely different.
When you're looking at a Photoshopped image, you're hunting for a human's mistakes: a slightly warped background from a liquify tool, a shadow that falls the wrong way, or lighting that doesn't quite match between two combined elements.
With AI fakes, the errors are often far more bizarre and inhuman. You'll see things a person would never think to do, like a hand with six fingers, background text that dissolves into gibberish, or skin that has an unnervingly smooth, waxy texture. You're looking for artifacts of the AI's creation process, not a human's editing slips.
